
Nearly five months later, we're still going strong: no white flour (and very little of any type of flour, actually), no white starches, no cane sugar (and little of any sort of sugar), no high fructose, and little-to-no dairy. (A lady has got to have cheese every now and again, doesn't she?) We feel great and have incorporated the changes easily into our daily life.
But sometimes, a girl has got to have a real-life bun. Just sometimes. I've been playing around with creating a recipe for whole wheat buns that works: it must use only whole wheat, and must, must, must have a texture that is edible.
I think I've finally figured it out. These use a blend of whole wheat flours. They are soft and not overly dense. Best of all, you can make the dough in your bread machine. Give them a try and see what you think.
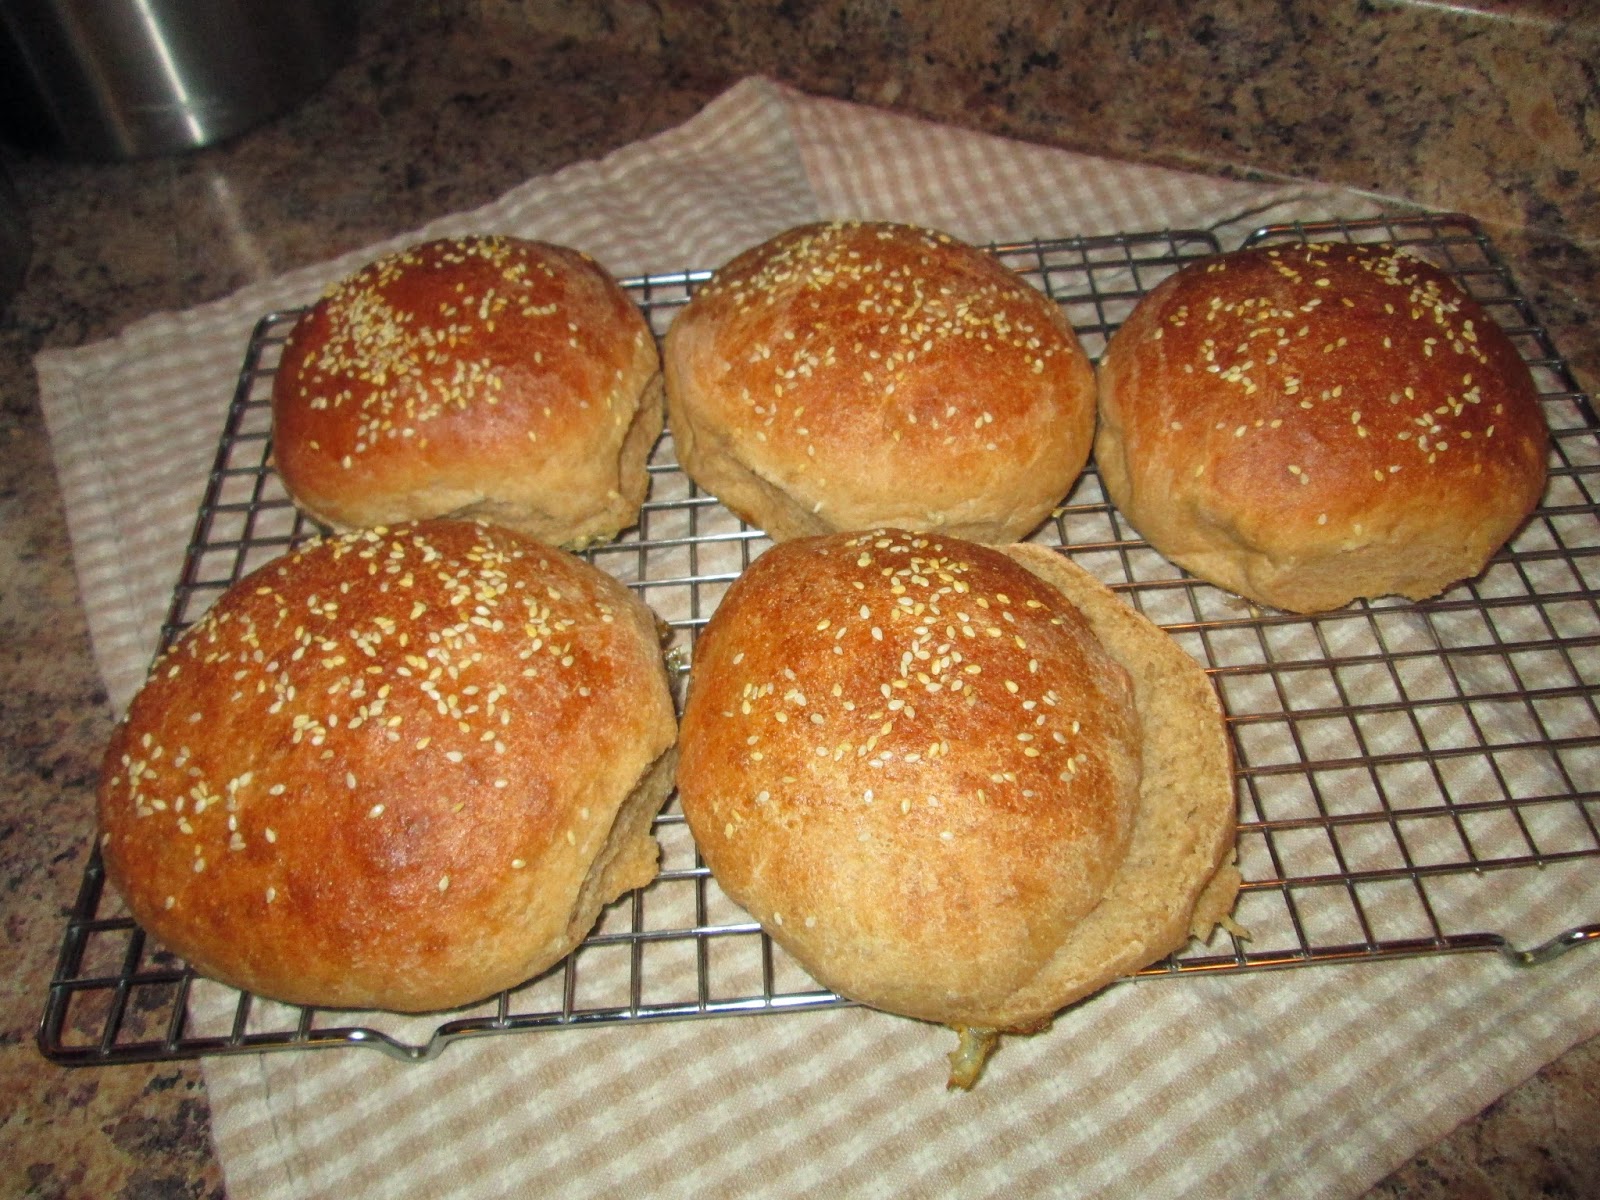 |
| They're not dense. Light and quite yummy. |
 |
| See that texture? No sawdust here. |
What you'll need:
1 cup water
3 TBS milk
3 TBS honey
1 1/2 tsp salt
1 egg
3 TBS butter
1 cup whole wheat pastry flour
1 cup white whole wheat flour
1 1/3 cup whole wheat flour
3 tsp vital wheat gluten
2 1/2 tsp instant yeast
What you'll do:
Add ingredients to your bread machine pan in the order recommended by the manufacturer. (For mine, it's the order listed above.) Choose the Dough Cycle and enjoy an hour and a half or so sitting and reading a book or something. Be sure to congratulate yourself; you are making healthy buns from scratch, after all.
After the dough cycle is complete, separate the dough into smaller pieces: 8 if you want really big buns; 10 if you want small-medium sized buns. (Be aware that the dough may be on the stickier side. Dip your hands in a little more flour and you'll have no problem shaping them, though.) Place them on a parchment lined (or greased) cookie sheet, leaving about 2 inches between each. Spray lightly with cooking spray and cover with plastic wrap or a light towel. Allow to rise until double--30 minutes to an hour, depending on humidity levels.
**I like to use my oven to proof bread. If you don't have a proof setting on your oven, you can still make it work as a professional "proofer". Set a bowl of warm water on the floor of the oven. Pre-heat the oven to 170 degrees F. and then turn the oven off. Place covered bread in the oven and close the door. I find this usually knocks some time off the second rise time.
After buns are doubled in size, you can brush them with an egg wash and top them with sesame seeds, dried onion flakes, poppy seeds, herbs, or any combination thereof. (But you don't have to.)
Bake in a 400 degree oven for 12-15 minutes. Start watching for the dreaded over-browning at around the 10 minute mark. The smaller the buns are, the quicker they'll get done. When golden brown, remove from oven and let cool.